While for some of you those DIY scrunchies are the latest thing, for a few of us these are an oldie but a goodie! I prepared a ton in a matter of seconds and needed to impart to you how to make a scrunchie at home.
Even though the ’90s were above and beyond 30 years prior, the remainders of that interesting mainstream society are as yet perfectly healthy. Particularly with regards to design. Let’s have a look at how to make scrunchies from scratch:
HOW TO SEW SCRUNCHIES OR HAIR TIES:
You will need:
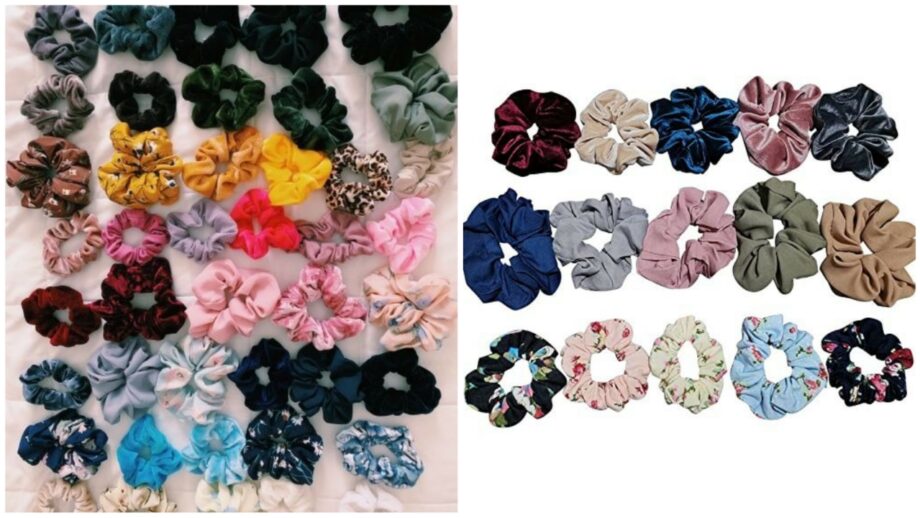
A strip of fabric of size 18″ x 3.5″ for a regular scrunchie,
16″ x 2″ if you want a mini scrunchie (cotton, velvet, satin, or silk all work well )
1/4″ elastic – 7-8″ long
matching thread
pins
a safety pin (or tube turner)
rotary cutter or scissors for cutting the fabric
a sewing machine or just a needle if you are hand sewing.
Procedure:
Stage 1: Pin the fabric
Crease the fabric down the middle the long way and pin everything set up.
Stage 2: Stitch
Sew all around about an inch and a half away from the edge, utilizing a 1/4″ crease recompense. Leave one more inch and a half toward the end unsewn. Support all sewing with a backstitch so the creases don’t fall apart later on.
Stage 3: Line up short edges and close them up
Push the texture inside itself to fix up the unsewn edges with one another. Essentially, simply scrunch it up and wrinkle it a bit. Presently the right sides ought to confront one another, so if they do, pin them set up and sew along that short edge.
Stage 4: Turn right side out
Flip the entire thing back to front by squeezing it and getting it through.
Stage 5: Add the elastic
Chop the elastic down to eight inches and get it through the scrunchie. You can do this by sticking one end with a security pin and afterward putting it through the hairband. Cross over the finishes of the versatile and line them to one another either utilizing a crisscross line or by straight sewing the closures to and fro a couple of times.
Stage 5: Finalize the scrunchie
Line the opening shut or use the paste to close it by applying a bit of it on the edge and squeezing it a bit before you let it dry.