Interlacing yarn or thread to create woven cloth is a centuries-old activity known as weaving. You can weave jewelry, DIY wall hangings, tapestries, carpets, baskets, and other home décor items.
Because a loom is needed, weaving is different from other fiber arts like knitting, crocheting, and macramé. A few equipment and supplies are required for weaving:
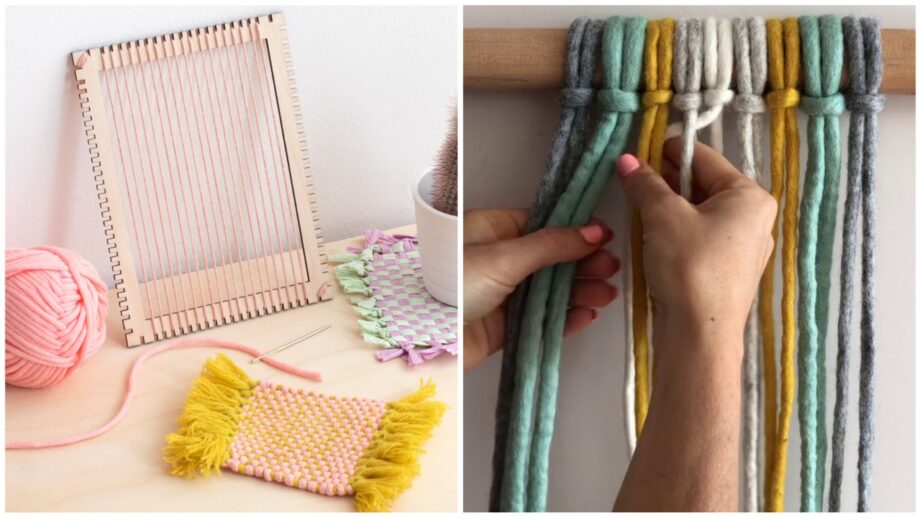
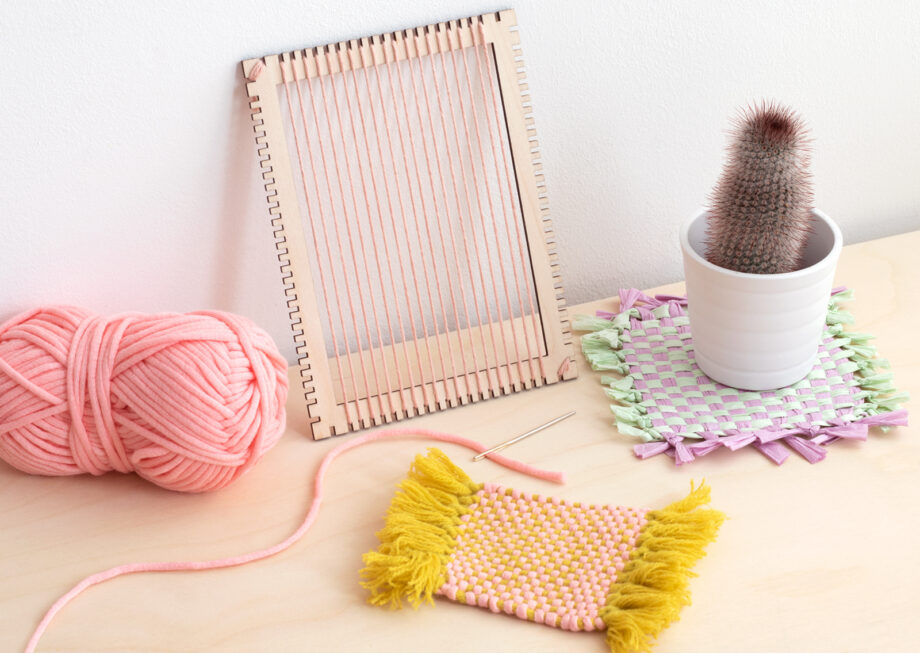
1. Loom: A weaving loom, also known as a frame loom, is a piece of wood with pegs or slots at the top and bottom that hold the fiber in place while you weave.
2. Warp: You will fasten this initial set of yarn vertically onto the loom and use it to weave the other strands of yarn through.
3. Weft: To make a design, you will weave this yarn across the warp. The more types of weft yarn you use, the more detailed your designs will be because weft can vary in color and thickness.
4. Tapestry needle: A sizable, steel, or wooden needle with a huge eye that makes it simple to pull the weft yarn through the warp.
5. Shed stick: To make room for your weft threads to flow through, a shed stick separates each other warp strands.
There are numerous weaving techniques you may learn, and once you get the fundamentals down, you can take on your next weaving job with ease.
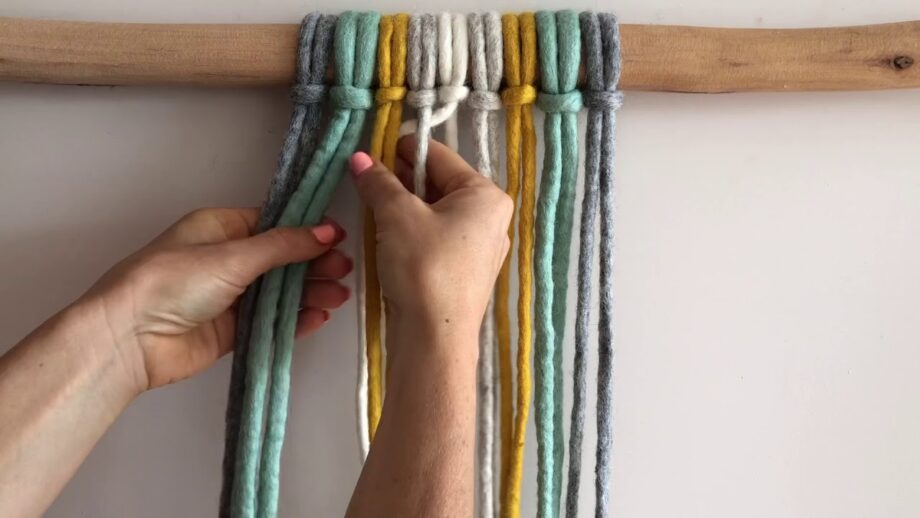
Use a slipknot to secure the end of the warp threads to the loom’s top left corner tooth. Once the yarn is tightly wound, draw it back up to the top of the loom and through the corresponding tooth at the bottom. Maintain a firm tension on the warp threads. Continue wrapping the warps back and forth until the row is the desired width for your weave. Finish up the warp by tying another slipknot.
