When you first move into a new home, you still have that moment when you stare at your barren walls, thinking about how you’ll fill them and give them character. And, as much fun as shopping for wall art in stores is, we’d like to recommend a different approach to decorating your living room or bedroom walls: DIY artwork. It may appear scary, but we’re here to inform you that many DIY paintings, needlework pieces, and abstract artwork aren’t as difficult to produce as you might think, and can make a stunning accent wall in your house.
Many of the Countryliving projects we’re featuring here can be completed in a weekend, an afternoon, or even an hour! Handcrafted ideas are also an excellent way to spice up a gallery wall.
Making DIY wall art can also be a lot more cost-effective. Instead of spending a lot of money on that pricey piece, you saw in a catalog, you can make an oh-so-similar version for a fraction of the cost and have the satisfaction of knowing you produced it yourself. So schedule some alone time, gather your friends, or enlist the help of your children, because it’s time to produce some DIY wall art.
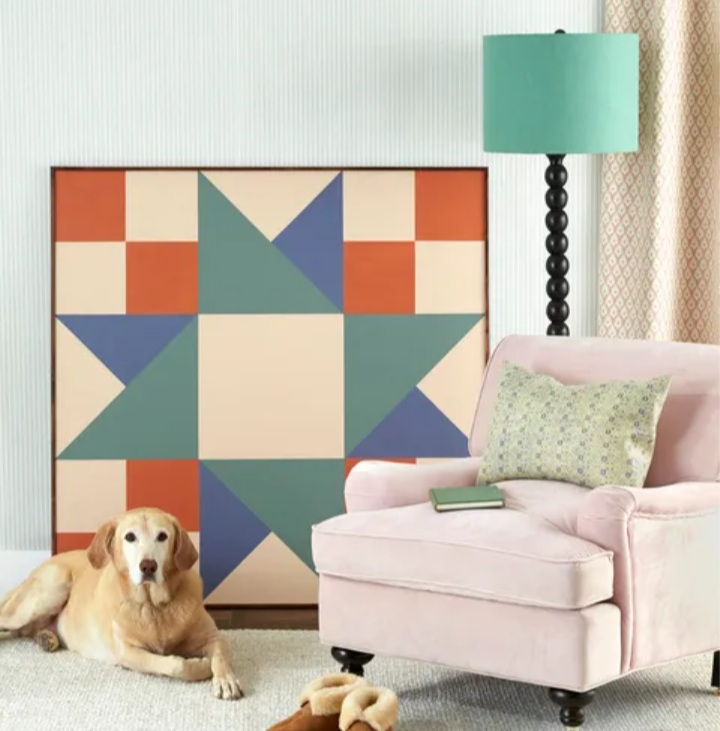
1. Oversized quilt square artwork

Any space can benefit from a large-scale piece of painted plywood that adds graphic punch. Cut a piece of plywood to the appropriate size first (ours is four feet square). Draw a quilt block (in this case, Twin Star–style) with a pencil on the wood, using a ruler or painter’s tape for straight lines, and then paint with acrylic paint. Finish by nailing 1/2-inch trim strips along the edges. Hang on the wall or lean on it.
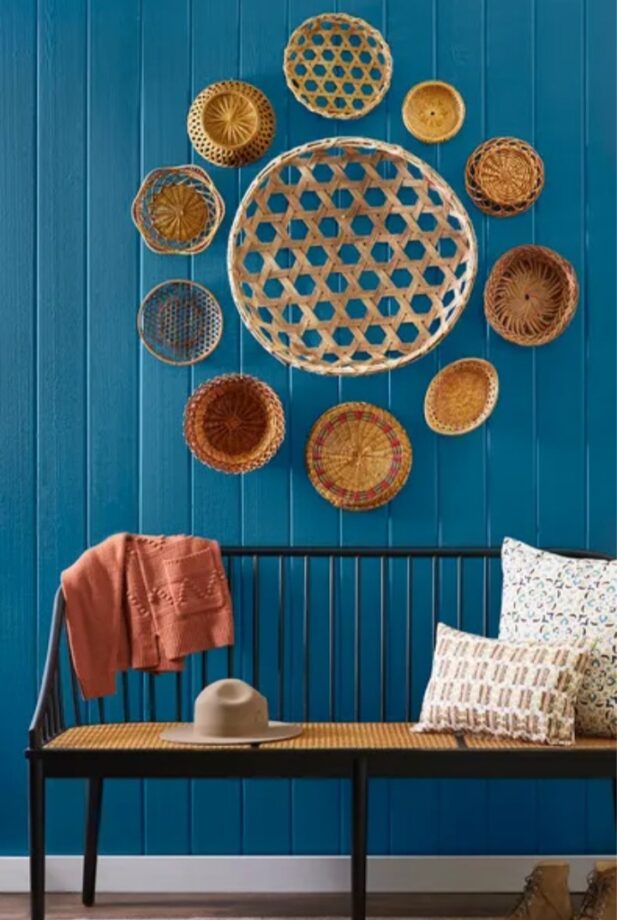
2. Basket Wall Art

A slew of baskets adds plenty of texture to a space. Hang a larger basket in the centre with nails, then surround it with smaller baskets in a circular or starburst arrangement.
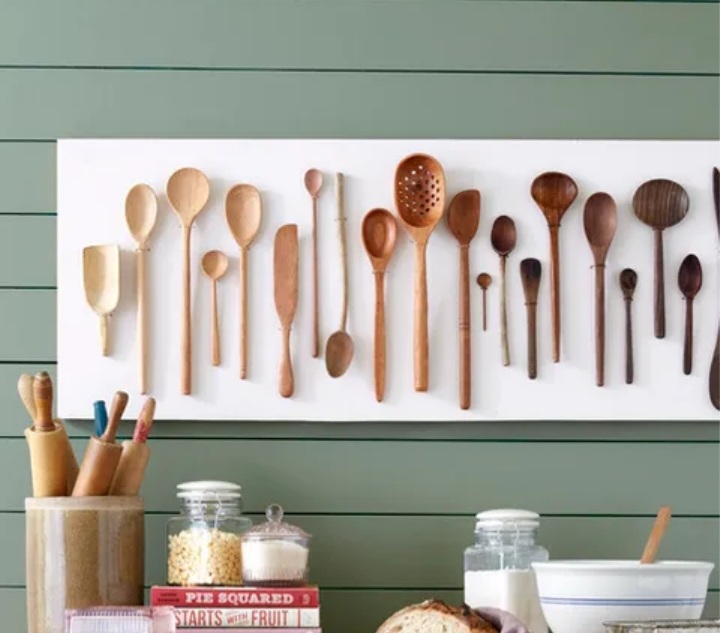
3. Kitchen wall spoon display

Wooden spoons are available in a variety of sizes, shapes, and hues, making them ideal for ombre kitchen decor. To put it together, start by cutting a piece of plywood to the necessary size and painting it. Use a pencil to mark a location on both sides of each spoon, often just below the bowl, in a light-to-dark pattern on the wood. Remove the spoons and drill holes where the markings are made. Loop fine-gauge wire over the handle and into the holes with one spoon at a time, twisting the wire ends behind the wood to secure. Repeat until all of the steps are completed, then hang.


