You Will Need
Eyeshadows
Eyeliner
Mascara
Brushes
Fake Eyelashes (optional)
1st step
With the help of a fluffy brush, locate the crease area. Close your eyes and place the brush where your eyeball can be felt.
2nd Step
Start by applying a matte brown eyeshadow to the crease with a fluffy brush. It should be blended throughout the crease. This approach contours the crease area and draws attention to your eyes even more. You can use a neutral eyeshadow to compliment the crease color on the eyelid. On the eyelid, I’ve used a translucent powder since it looks natural and provides the illusion of bigger lids.
3rd step
To achieve a delicate, smokey appearance, use the same brown eyeshadow on your lower eyelid, emphasizing more on the outside corner of the eye. Dust the eyeshadow with a loose powder if there is any fallout. Brows are said to frame your face, so don’t forget to fill them in!
4th step
After you’ve finished blending the eyeshadow, begin applying the artificial lashes. Adding artificial lashes to the look enhances the whole effect. You have the option of using dramatic or natural-looking lashes.
5th step
After you’ve finished straightening your lashes, use an angular or pointed liner brush to apply eyeliner. I used a MAC gel liner called Blacktrack in this example. Start by drawing a line from the outer corner of the eye inwards until it reaches the inner corner. The liner should be put extremely near to the lashes, covering the fake lash line completely. To make your liner look even more intense, dab it with an angular brush or a flat eyeshadow brush in the same color as your liner. It will also keep the lining from creasing.
6th step
Apply the same eyeliner to the lower eyelids and mix the color.
7th step
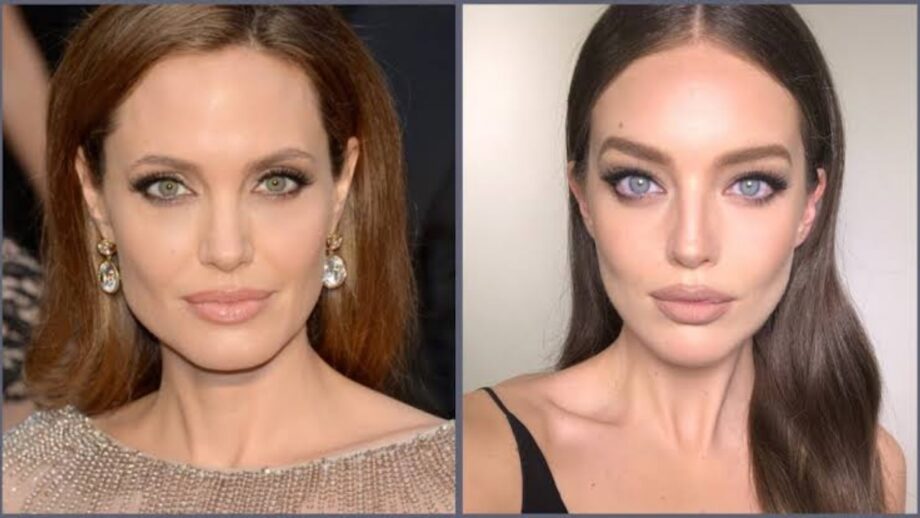
Curl your lashes to provide volume and a rounder appearance. Curling your lashes also lifts them and opens up your eyes. Apply an ample amount of mascara to both the top and bottom lashes. Coat your lashes two to three times for added drama. Colorbar’s mascara was used in this photo. Keep your lips neutral or play around with bright reds, pinks, and corals. Because Angelina Jolie is known for her pouty and voluptuous lips, I went with a bright pink tint. The beauty of this style is that you can change it up to make it more subtle or more beautiful!
Do try this makeup tutorial and let us know your experience and keep reading IWMBuzz.com.
